
BEFORE:

AFTER:
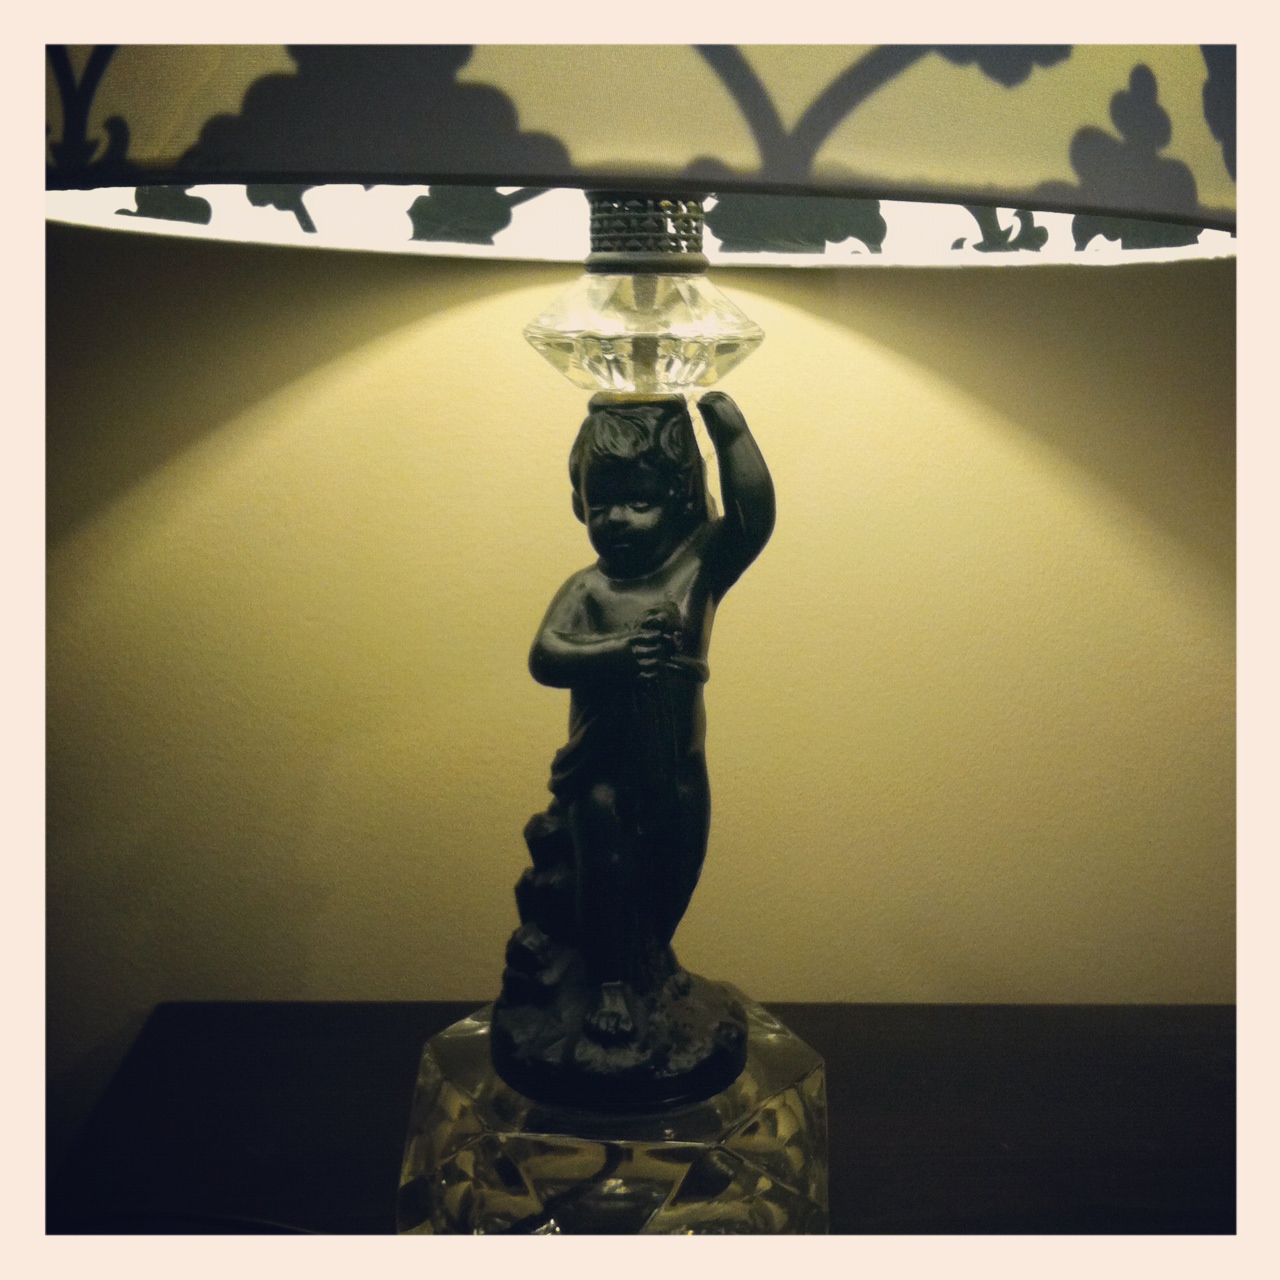
Isn't it so cute!!


All it took was a little cleaning up, spray paint, a new shade and new wiring. Okay, so that sounds like a lot but it was really easy.
1. Clean up- soap, water, an old tooth brush and a little elbow grease.
2. Tape off the areas that don't need to be painted and spray the rest with two- three light coats of your choice of spray paint. I recommend Krylon spray paint that is available at Walmart and Ace Hardware. I would also invest in a spray gun adapter to use on all your future spray paint projects. It will make your projects way easier and helps keep paint off your fingers.

3. Wiring- This may seem like the most daunting part of the project but it is SUPER EASY. All you need is a simple make a lamp kit from your local hardware store. The step by step directions are easy to follow but to put your mind at ease I will be uploading my step by step instructions very soon.
4. Top it all off by picking a great looking lamp shade. Lowe's, Home Depot, Target, Walmart and Home Goods are all great places to find basic lamp shades or you can visit a local lighting store for something more custom. I found my shade at Target.

This is another lamp re-do that I did recently. This was a $15 thrift store brass lamp before. This one didn't need any new wiring so all it took was a high gloss white spray paint and an ivory shade from Lowe's.
No comments:
Post a Comment