After starting the Sunflower project, I was on a bit of a painting kick (and in need of a few Mother's Day gifts) and decided to keep going and make some smaller pieces for a few other momma's in my life. The Amarylis was for my grandma-in-law (GG) because she sent me a beautiful one last year when we were living somewhere with very few flowers.
Black Eyed Susan's are my mom's favorite flower and have been since my Dad first picked some for her 42 years ago. He occasionally still stops on the side of the road to pick a bunch for her and brings them home in whatever fancy container he has on hand, usually a coke bottle.
Showing posts with label THRIFTY. Show all posts
Friday, May 15, 2015
Favorite Flowers
My mother-in-law recently fell in love with a piece of art that would be perfect for her Tuscan inspired screened in back porch but was not ready to fork out the hefty price for something that would be hanging outside. So, she asked if I could attempt to create something similar using some pallet wood that we have been hoarding (was holding all the tile that we recently installed). My husband was more than happy to have a way to get rid of it and an excuse to use some of his tools. After he created the 'canvas' I got started on the painting. I intentionally went for a rustic and rough look since it will become more and more weathered over time anyway. Can't wait to see it displayed on her Tuscan porch (in Florida).
Monday, November 12, 2012
Simple Fixer Upper- Burlap Stool
I found this great, sturdy little stool at a thrift store and couldn't pass it up. The finish is a little blah and the fabric was pretty awful but I could see it's simple potential.
First- I removed the legs (just screwed into the bottom) and wrapped burlap right over the existing fabric. Just pulled it tight all the way around and stapled it along the bottom as I went. Just make sure the burlap is smooth as you go but don't worry about the bottom being pretty. I folded another strip of burlap and stapled underneath to give the edge a clean look.
Once everything was secure I simply trimmed the extra fabric.
Next step was painting the legs. I used push pins to hold the legs onto a piece of cardboard and sprayed away. I used a flat black paint from Krylon and highly recommend using a spray paint gun to make it much easier and cleaner for your fingers. (don't worry, I did this before I was pregnant)
The last steps were just to re-attach the legs and add nail head trim to finish off the look. You can find the nail heads in a variety of sizes and colors at your local hardware store. These were in the nail section at Home Depot.
Wednesday, March 21, 2012
7 TIPS TO THRIFT
Thrift store and antique shopping can be overwhelming and and you may even think it's not for you. I have put together a few tips to help prove that even you can find amazing deals and beautiful pieces at affordable prices.
1- Be Patient. Don't expect to find something amazing every time you walk into a thrift store. A good thrift/consignment/antique store will have new inventory coming in every couple of weeks (some even more often) if it looks like the same exact stuff has been sitting on the shelves for years, it probably has and most likely it won't be worth your time to sift through the junk. Talk to the shop owners and find out how often they get new things in, those are the shops worth re-visiting every so often. If you go in thinking you are going to find gold, you won't. Have realistic expectations and then you will be pleasantly surprised when you find a hidden gem.
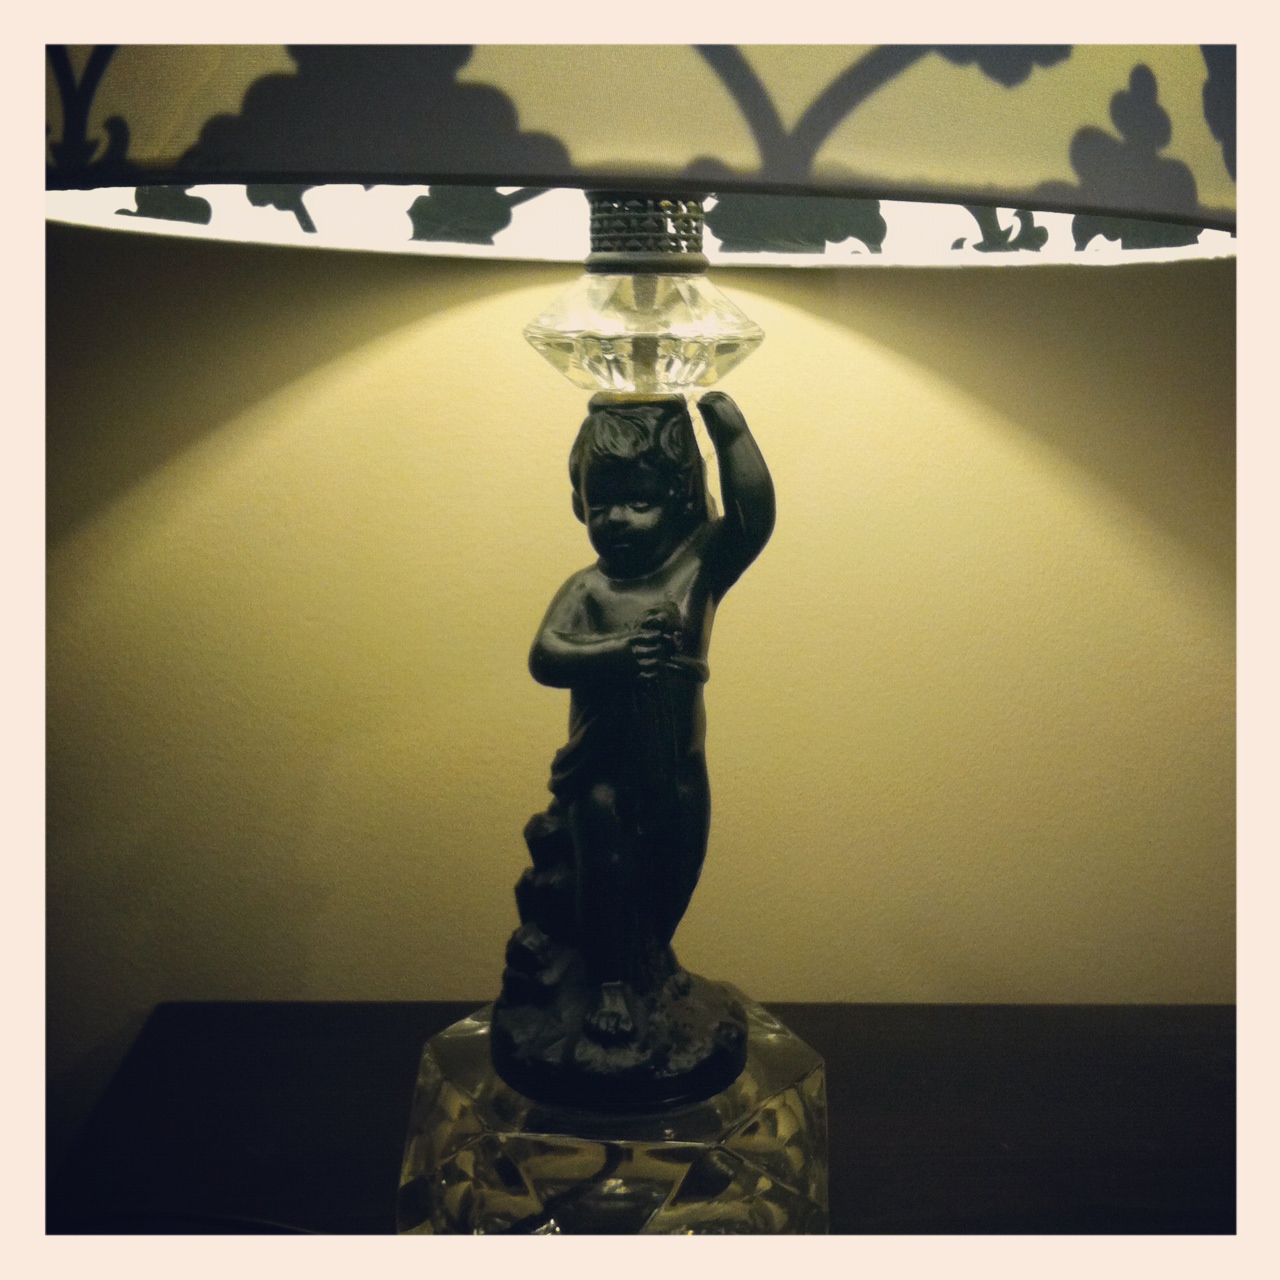
2- Spot the hidden gems. Remember, it is a second hand store so things won't be in perfect condition and some one got rid of them for a reason. But also remember that their reason may have been something as simple as the color, outdated style, fabric, or function. Keep an eye out for the shape not the color and it's ability to be fixed. For instance, the brass lamp above has a great shape just an outdated and tarnished finish. All it needs is a coat of paint and it can be an updated statement piece (keep an eye out for it's update next week).
3-Be realistic. If you have zero handy man skills, don't buy an item that needs complete reconstruction. Know your abilities or at least someone that can help you and stick to items that you can improve yourself. Don't spend $5 on something that is going to cost you $50 to fix when you could have just bought a new one for $10. Look for furniture that just needs cosmetic repairs not structural (unless minor) lighting that you can re-wire yourself, and accessories that just need a little cleaning or spray paint.
4- Spot a good deal. If you are looking for something in particular research what that item would cost if you were to buy it new or from a few different shops. For instance, if you are looking for a new kitchen table, check out the pricing at a few different furniture stores (you can check online and save yourself a trip). Having an idea of what a new table costs will help you determine if the used table you find is actually a good deal. Also, take into consideration the condition of the table. If it just needs a little cleaning up then you will probably be willing to pay more but if it needs a complete makeover then it should be drastically less expensive than a brand new table.
5-Don't be afraid to haggle. I tend to feel bad about asking for a better price (I don't know why, I know they mark up the price so they have wiggle room) so I have learned to ask in a way that seems a little nicer. I ask if they offer any kind of discounts; military, student, designer, ect. Or, mention that you really weren't wanting to spend more than $___. Or just flat out ask if they would take $___ and always start off a little lower than what you really want to pay. Don't be ridiculous, you will just anger them and they won't want to work with you at all. Having worked in sales myself, I was always more willing to adjust the price for customers who were nice and realistic about their expectations. 10-15% off is probably a safe amount that most sales people are even allowed to give without getting special permission from their manager. Some stores do have hard pricing and can not make adjustments but it doesn't hurt to ask.
6- Start small. If you are new to second hand shopping, don't jump in full force and buy a piece of furniture that is going to become a 6 month long project. Take baby steps. Start with a few small accessories, candle holders, picture frames, etc. You may find things that don't need any work or even just a coat of paint. Not every project is going to be amazing and you may have to try a few before you really get an eye for potential. This will also help you find the go to stores that are worth your time.
7- Not a DIYer? Don't worry, there are still plenty of great thrift store finds that don't need any work. They may take a little more searching but they are out there. Also, you are in luck because more and more stores are refinishing pieces themselves to sell. With DIY being the 'in' thing right now, many local shops are bringing in artists to refinish a few pieces (the table in the picture above). These pieces may cost a little more but they are still unique and affordable.
Why do I thrift? Not only is it an affordable way to handle my shopping addiction but it helps me add a unique and personalized touch to our home.
Tuesday, March 20, 2012
MAGNETIC MEMORIES
This project combines my love of travel, chalk board paint and hoarding.
We started collecting magnets a few years ago as our vacation and moving souvenirs (we even have one from Iraq), It is a fun (and cheap) way to look back at the places we have been and they don't take up much room in a suitcase or moving box.
I am not a big fan of having our refrigerator covered so we created this super simple magnet board to display them in our kitchen. The magnetic part is just a piece of sheet metal from the hardware store (to get the size you want use sheet metal cutters not standard scissors and wear work gloves, that stuff is sharp). I taped off a square with painters tape and slapped on a few coats of chalkboard paint (one of my obsessions). The frame was made by my handy husband but a store bought frame would work just as well.
Tip- try and get magnets that have the location written on them or are at least really obvious about where they are from. Also, use a silver sharpie to write the year on the back.
Tuesday, March 13, 2012
SALVAGED INSPIRATION
If you are in the Savannah, Madison or Greensboro, GA area you have to check out Pinch of the Past!! Such a great store for any DIYer or antique/vintage lover. It is an Architectural Salvage but they also have many other random vintage finds. Piles of old windows, mantles, columns, doors, knobs, ironwork and much, much more. Pinch of the Past is definitely the kind of place you are going to want to spend some time sifting through to find great pieces for your home. No, I don't work for them, I just really love this shop!! ( I should totally get an extra discount though for all of the name dropping I do for them)
Many of the things they have would be great to use in a
restoration project or permanent changes in a home that you own but there are
plenty of opportunities for finds that can move with us renters. The old corbels and wall brackets would
really dress up a book shelf, the old columns could be cut down to use as table
legs and I think a few pieces from the old pipe organ would just be cool to
hang on a wall as an art piece.
They have stacks of old mantles, in good and bad shape. Some are ornately carved and others are simple and classic. I love the old iron fireplace grills and summer covers so much that I convinced my parents to buy one for the home they are building (keep an eye out for how that project turns out).

The random accessories are great too. I would love to paint the bust and globe some
crazy metallic or fluorescent color and those doors are amazing. I just have to find the right project and customer to convince.
Are you thinking, hey not cool, I don't live in Georgia? Don't worry.
Most towns, especially older ones have some place similar to this, it just takes a little searching. Because
they are small businesses you aren’t likely to find them on Google so ask
around. Any local designer, decorator or
small shop owner should be able to point you towards some great hidden gems. Most antique/thrift store owners know about
all the other local places too so don’t be afraid to ask them to point out a
few others. Some of the antique/ thrift stores in Savannah have even put together a brochure with a directory of all the local shops and they often trade and work together.
Also, Pinch of the Past has a catalog on their website of select items you can order.
Monday, March 12, 2012
HAND-ME-DOWN RE-DO
I inherited this old round table from my parents in college, they didn't want it because the cherry finish was outdated and after feeding 5 kids off of it for years it was pretty scratched up. I forgot to take a before picture so this one from Christmas is the best I can do.

I love how it turned out!


For the chairs I spray painted them first to get into all the nooks and crannies and then hand painted over them with a black satin, latex paint. I still need to put a polyurethane coat on them to help protect them but I ran out of weekend.
The table was a little trickier but much easier than I expected. I wasn't sure how the paint stripper would work since I am pretty sure this isn't solid wood and the pretty part on top is only a veneer. But, I figured if it didn't look good I could always paint the whole thing.

Step #1-Spray. I am in love with a new product for all of my future paint/stain removal projects. Citristrip paint stripper was so easy to use. Make sure to wear rubber gloves and coat the entire piece (you can get it in a spray or paint it on with a brush/roller, I used the spray). Follow the directions on the can to determine how long you need to let it sit, I only waited 30 minutes but should have waited a little longer.

Step #3- Sand. To get the last layer of stain and make sure the finish is uniform give the table a light sanding. My husband's latest birthday present was an orbital sander, (we get pretty cool presents around here) and it really makes sanding a lot easier. If you think you will have more sanding projects in the future it would be worth the small investment. A small electric sander or hand sanding works too, it's just way more time consuming.
Step #4-Clean. Wipe the table with mineral spirits on a soft, lent free cloth to remove the dust.
Step #5- Stain. Pick your stain color and follow the instructions on the packaging. We used Minwax Driftwood but keep in mind that it will stain differently depending on the type and color of the wood. I let the stain sit for about 5 minutes before wiping it off to just give it a light color.
Step # 6- Seal. Protect the finish with 1 or 2 coats of Polyurethane. I used Minwax Fast-Drying because I am super inpatient but regular will probably give you a more uniform finish. Once again, follow the instructions on the can and sand between coats and clean with mineral spirits before applying another coat.
When my mom saw the table, she asked me "where did you get your new table?" Since it was once hers I am pretty sure that means the project was a success.
Friday, March 9, 2012
Thrifty Thursday
The first step to recovery is admitting you have a problem. I am ADDICTED to SPRAY PAINT! (not in a drug use kind of way)But I don't want to get over this addiction so I'm just going to share it with you and get you hooked too.
This is just a sample of a really basic and SUPER easy spray paint project. These candle holders were ugly and slightly rusted brass. I found them at a thrift store and got the entire set for only $2. They just took 2 coats of Krylon in a high gloss yellow to give them a lacquered look and now they are a great sleek accessory that adds a splash of color to my kitchen. I know there is a candle stick missing, just ignore that. We had an incident with my husband's head hitting the shelf these are on. He is okay but the candle didn't make it.
Thursday, March 8, 2012
Double Up-cycled: Milk Glass Lamp
This was a SUPER SIMPLE lamp re-do for our guest room and I wasn't the first one to up-grade this lamp. I found the brass lamp at a local furniture consignment store for $12, it was already wired as an electric lamp but it was originally an oil lamp. It was still in working order but the wiring was pretty old and I didn't want to take any chances with old electrical wiring. First, I re-wired it with a lamp kit from the hardware store (comes with easy to follow instructions). Then I simply spray painted the base satin nickel to give it a more up to date look. I love how it turned out!
More guest room projects coming soon!
Wednesday, March 7, 2012
Street Light: Before and After
BEFORE:
AFTER:
Isn't it so cute!!
All it took was a little cleaning up, spray paint, a new shade and new wiring. Okay, so that sounds like a lot but it was really easy.
1. Clean up- soap, water, an old tooth brush and a little elbow grease.
2. Tape off the areas that don't need to be painted and spray the rest with two- three light coats of your choice of spray paint. I recommend Krylon spray paint that is available at Walmart and Ace Hardware. I would also invest in a spray gun adapter to use on all your future spray paint projects. It will make your projects way easier and helps keep paint off your fingers.
3. Wiring- This may seem like the most daunting part of the project but it is SUPER EASY. All you need is a simple make a lamp kit from your local hardware store. The step by step directions are easy to follow but to put your mind at ease I will be uploading my step by step instructions very soon.
4. Top it all off by picking a great looking lamp shade. Lowe's, Home Depot, Target, Walmart and Home Goods are all great places to find basic lamp shades or you can visit a local lighting store for something more custom. I found my shade at Target.
This is another lamp re-do that I did recently. This was a $15 thrift store brass lamp before. This one didn't need any new wiring so all it took was a high gloss white spray paint and an ivory shade from Lowe's.
Saturday, February 18, 2012
China Cabinet on the Cheap
It originally had this scroll work attached to the legs but one side was broken and it was a little too ornate for my style anyway so we chopped them off. |
The great little cubbies weren't fun to paint but they are very handy for storing random small pieces. |
Nothing special about the drawers, just wanted you to see the boring drawer pulls that it came with. |
We use it to display our wedding china, grooms cake topper (UF mascots, Albert and Alberta, GO GATORS) and a few pieces that were my grandma's. I also keep a few shadow boxes underneath that hold mementos from our wedding and my husband's year in Iraq (more on those later). I found the new glass drawer pulls at Anthropologie and they add a great little sparkle and finishing touch. |
See, the little cubbies are great for holding small dishes and what not and the flip out desk serves as a great bar. |
Subscribe to:
Posts (Atom)