Sunday, March 11, 2012

You can now follow me on...

bloglovin'

<a href="http://www.bloglovin.com/blog/3650848/army-life-design?claim=fnjqucct265">Follow my blog with Bloglovin</a>

Friday, March 9, 2012

RETAIL RENO

Design Rendering
Final Product
A little while back I helped a local consignment shop with a quick sprucing up.  Not only was it a very tiny space with A TON of inventory but we had a very short time to get the project done and our budget was only $100!This took a lot of creative design thinking and with no money to hire extra help every project had to be DIY.  My favorite element was the focal wall above the fireplace.  We found the great decorative paper at Ex Libris bookstore in Savannah and mounted it using spray adhesive that we found at a local craft store.  The mirror was a sale item in the shop that can be switched out when it sells with any artwork or mirror.  The branch jewelry display was from my back yard.  No that is not a store name, it is literally from my backyard (don't tell my landlord) and I just spray painted it teal.

Design Rendering
Final Product
 Because of the limited space, this display wall needed to be functional to display merchandise and also as a backdrop for them to photograph merchandise for their website.  The big hearts are part of their logo, the 'drawer' shelves were a side of the road find ( I never pass up free stuff on the side of the road, unless it is bug infested or too big to fit in my car).  I sprayed them white and lined the backs with left over paper from the fireplace wall.  I found the heart hooks at World Market and sprayed them along with the drawer pulls gold.

Design Rendering


This is the easiest and cheapest hat display ever.  It's just a piece of twine hanging from a nail with clothespins holding the hats in place.

More hooks from World Market mounted on an old piece of wood painted white.  I found a guy on Craigslist that was giving away old siding from his house so he didn't have to take it to the dump and I left with as much as I could fit into my trunk.  This stuff came in handy on several projects.  

A little side note about Craigslist- since there are so many creepy people out there I highly suggest taking someone with you and letting a third party know where you are going.  I may watch way too much CSI but it's better to be safe than sorry. 


Here is the old wood again used as shelves.  The brackets were a thrift store find and just needed a coat of paint (they are actually plastic and were a really ugly color before)


Every inch counts when you are working in a tiny space and this display serves double purpose.  Not only did it bring more attention to the hand bags than the previous piled up display but you can see them from the street.  Once again all it took was twine hung from a nail on top of the window frame and clothespins.  I sprayed the clothespins teal and gold to jazz them up a bit.  

One of the biggest $ saving things I did on this project was to use what I already had.  The paint colors were chosen in part because of the companies logo and in part because I had left overs from another project.  I also got a lot of stuff for free and didn't attempt to make anything that I couldn't do myself.  Also, think of things that you can buy in bulk and use in several different places. A roll of twine at Walmart is only a few dollars and goes a long way and a pack of clothespins can be found at a dollar store.   

Thrifty Thursday

The first step to recovery is admitting you have a problem. I am ADDICTED to SPRAY PAINT! (not in a drug use kind of way)But I don't want to get over this addiction so I'm just going to share it with you and get you hooked too.

This is just a sample of a really basic and SUPER easy spray paint project. These candle holders were ugly and slightly rusted brass. I found them at a thrift store and got the entire set for only $2. They just took 2 coats of Krylon in a high gloss yellow to give them a lacquered look and now they are a great sleek accessory that adds a splash of color to my kitchen.   I know there is a candle stick missing, just ignore that.  We had an incident with my husband's head hitting the shelf these are on.  He is okay but the candle didn't make it.

Thursday, March 8, 2012

Double Up-cycled: Milk Glass Lamp

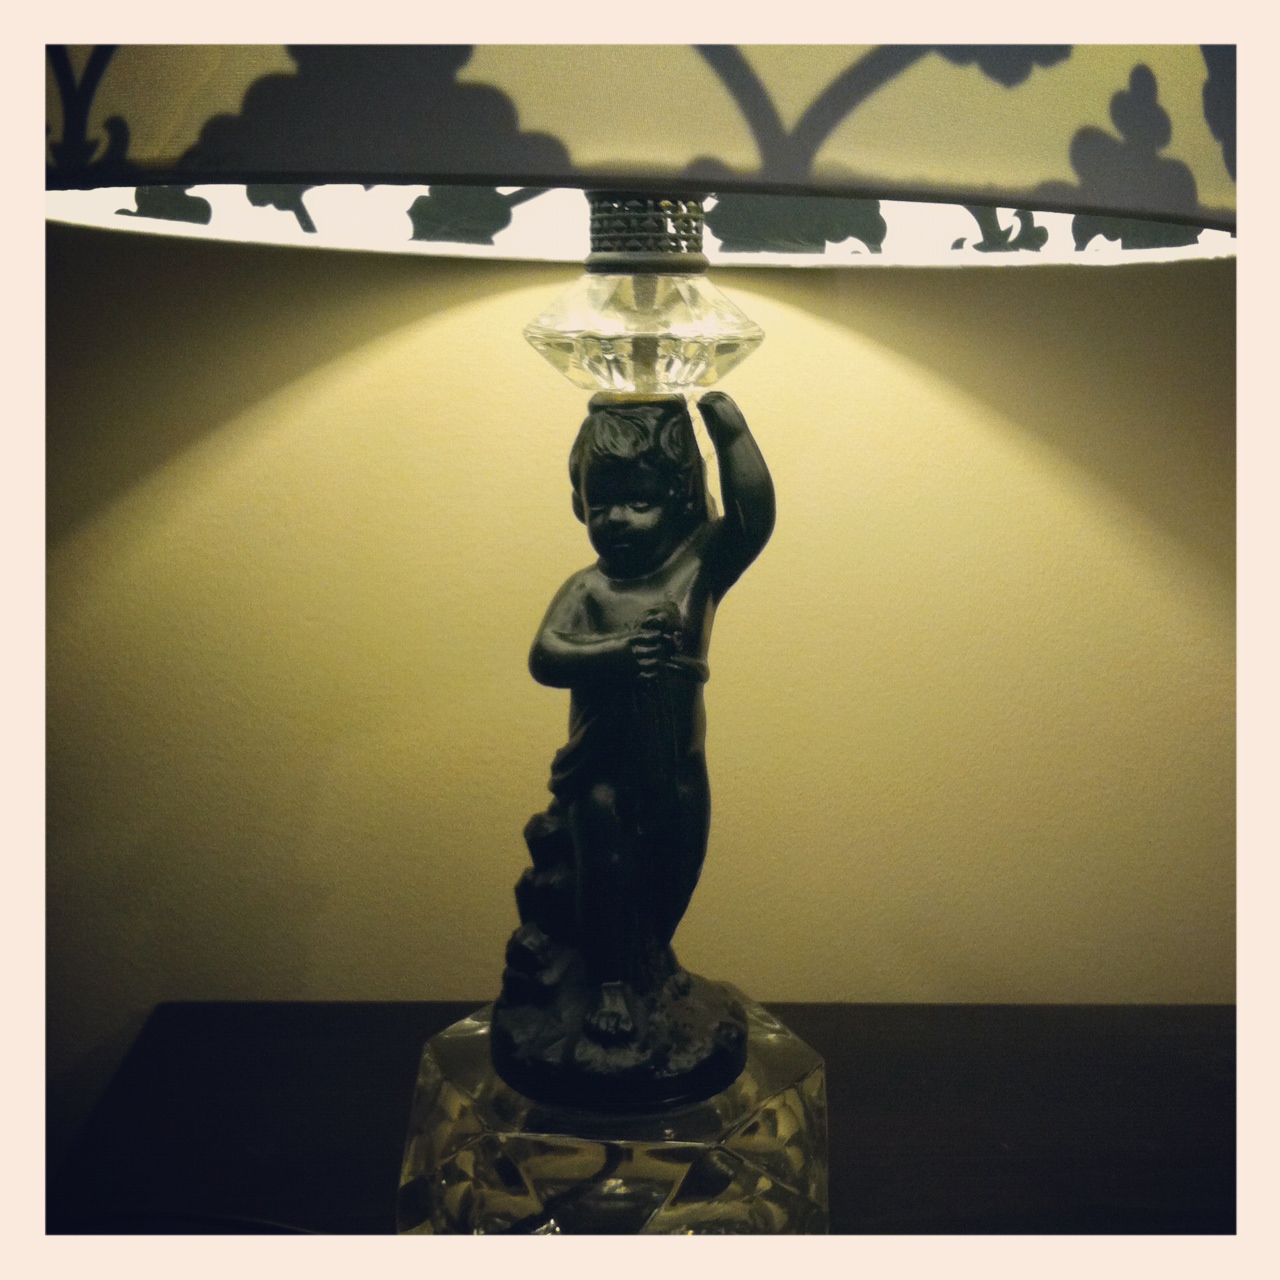
 This was a SUPER SIMPLE lamp re-do for our guest room and I wasn't the first one to up-grade this lamp.  I found the brass lamp at a local furniture consignment store for $12, it was already wired as an electric lamp but it was originally an oil lamp.  It was still in working order but the wiring was pretty old and I didn't want to take any chances with old electrical wiring.  First, I re-wired it with a lamp kit from the hardware store (comes with easy to follow instructions).  Then I simply spray painted the base satin nickel to give it a more up to date look.  I love how it turned out!  

More guest room projects coming soon!    


Wednesday, March 7, 2012

Street Light: Before and After

BEFORE:

 One neighbor's trash is another's treasure.  Literally.  I found this lamp on the curb after one of my neighbors moved out of her apartment.  The wiring was shot and it needed a little cleaning up but I could see the potential, or at least the fact that it was free.
AFTER:
Isn't it so cute!!  


All it took was a little cleaning up, spray paint, a new shade and new wiring.  Okay, so that sounds like a lot but it was really easy.  
1. Clean up- soap, water, an old tooth brush and a little elbow grease. 
2. Tape off the areas that don't need  to be painted and spray the rest with two- three light coats of your choice of spray paint.  I recommend Krylon spray paint that is available at Walmart and Ace Hardware.  I would also invest in a spray gun adapter to use on all your future spray paint projects.  It will make your projects way easier and helps keep paint off your fingers.    

3. Wiring-  This may seem like the most daunting part of the project but it is SUPER EASY.  All you need is a simple make a lamp kit from your local hardware store.  The step by step directions are easy to follow but to put your mind at ease I will be uploading my step by step instructions very soon.
4. Top it all off by picking a great looking lamp shade.  Lowe's, Home Depot, Target, Walmart and Home Goods are all great places to find basic lamp shades or you can visit a local lighting store for something more custom.  I found my shade at Target.
This is another lamp re-do that I did recently.  This was a $15 thrift store brass lamp before.  This one didn't need any new wiring so all it took was a high gloss white spray paint and an ivory shade from Lowe's.

Nana and Papa's House

Work in Progress:
My parents, aka Nana and Papa (they have 10 grand kids) are custom home contractors in beautiful Tampa, FL.  They have been building homes for over 30 years and are currently working on their own "retirement" home.  Knowing my dad, they will probably never actually retire but for now the plan is to move into this house and stay.  

As their daughter and an interior designer, I am putting in my two cents along the way.  I will keep you updated on some of the AMAZING touches they add and some of the design elements that I have a hand in creating.  I am most excited about the details that they are adding for their 10 current and future grand kids.  


 This is where they are at so far.  I love the wrap around porch!! They already have rocking chairs and a swing ready.  
The brick is all reclaimed and has such a great 'old' look.
This classic hanging lantern will be right over the front door with matching post lights on either side of the entry stairs.  From:Capital Lighting


Interior details coming soon...

DESIGN IN BLOOM

It may be earlier than usual but SPRING IS HERE!!Which means my allergies are out of control and so are my ideas for spring projects. Flowers are blooming everywhere around here and not just outside. Floral prints and designs are huge in home decor this season and adding a little touch here and there can really brighten up your home. Here are just a few affordable floral designs from 4 very popular home decor stores...
Pottery Barn

Crate and Barrel

Target and World Market

Saturday, February 18, 2012

China Cabinet on the Cheap

This is a little project I did a while ago (with some help from my dad).  We have such beautiful wedding china and no way to display it.  A store bought china cabinet was not only on the bottom of our financial priority list but they are also all way too big.  We were living in the worlds tiniest apartment at the time and with our constant moving (thanks Army) I knew we would probably be limited on space again in the future.  After a little thrift store shopping I came across a secretary style desk with a glass display hutch (all one piece) and because it had a broken leg (that I wanted to remove anyway) they let me have it for $50.  My usual helper, my husband, was overseas at the time so my dad offered to give me a hand with the saw and let me take up some space in his garage for a bit.  I am pretty handy with most power tools but I was nervous with the saw on this one since there wasn't much room for error, dad to the rescue.  Don't be afraid to ask for help on your DIY projects (or DIY with help)

BEFORE.  Believe it or not, this is what the 'china' cabinet looked like after some work had been done.  I know you are thinking I am crazy for even considering buying this thing but I really could see the potential (and it was really cheap).

It originally had this scroll work attached to the legs but one side was broken and it was a little too ornate for  my style anyway so we chopped them off.

The entire piece had been painted multiple times and the white finish was actually  more of a yellow and the bright teal interior was just too bright!  I gave it a good sanding and a coat of primer to block out the teal before applying the final color.

The great little cubbies weren't fun to paint but they are very handy for storing  random small pieces.

Nothing special about the drawers, just wanted you to see the boring drawer pulls that it came with.

AFTER! The finished product.  All it took was a new coat of paint and a little handy work (thanks dad) and it is a beautiful, apartment size china cabinet.

And, since it is actually a desk if we decide to get an actual china cabinet in the future we can just re-purpose it to another room.  I think it would be so cute as a desk in a little girls room (one day).

We use it to display our wedding china, grooms cake topper (UF mascots, Albert and Alberta, GO GATORS) and a few pieces that were my grandma's.  I also keep a few shadow boxes underneath that hold mementos from our wedding and my husband's year in Iraq (more on those later).

I found the new glass drawer pulls at Anthropologie and they add a great little sparkle and finishing touch.

See,  the little cubbies are great for holding small dishes and what not and the flip out desk serves as a great bar.